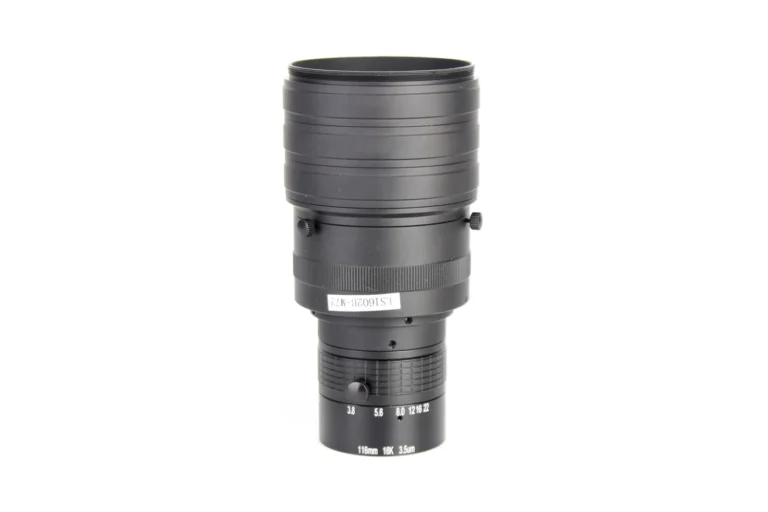
A tilt on a flat target is one of the few stereo faults you can attribute in an afternoon without new hardware. Swap the two lenses between the left and the right housing, re-run the same depth map on the same flat target, and watch what happens to the tilt. If the tilt follows the lens, the pair is mismatched: the effective focal length or the distortion differs enough between the two units to bend the disparity map. If the tilt stays with the housing, the lenses are innocent and the rig is the suspect: mount parallelism, focus, or the baseline and rectification parameters. Run that test before buying matched pairs, because a pair-selection service adds cost and cannot fix a mount that is not square.
Run the Swap Before You Buy Anything
The swap test separates the two candidate causes with one afternoon of work, and the rules are simple. Use the same flat target in the same position for both runs, the same aperture, the same focus setting and the same warm-up state for both lenses. Photograph and save both depth maps, and note the direction of the tilt in each. A tilt that reverses or follows the moved lens points at the optics; a tilt that stays on the same side of the rig points at the mechanics. Nothing about the test requires a calibration lab, and the images it produces are also the evidence a supplier will ask for before accepting a refund or replacement.
One detail is easy to miss: confirm the target is actually flat. A steel plate with a bow, a rail that is not level, or a target resting on packing shims will produce a smooth tilt on a perfect pair, and the depth map cannot tell you which of the two you are looking at. Lay a straight edge across the target in both directions before the test, and photograph it. If the straight edge shows daylight, fix the target first. The same photograph is worth keeping with the test record, because a target that was flat on the day of the test is part of the evidence if a supplier later asks how the comparison was made.
What Produces a Tilt on a Flat Target
Four causes cover almost every case, and each has a different fix. Scale mismatch is the most common: the two units differ in effective focal length, so disparity grows with field position and the reconstructed plane looks tilted. Optical decentering, where a lens element is off centre, or a tilted sensor in one camera, bends one side of the map. A stale rectification, computed from an old calibration or from the wrong baseline, tilts the map in software rather than in glass. And thermal movement on one side, for example a lighting unit warming one camera mount, produces a slow tilt that grows over the first hour and then stops. The background to how disparity becomes depth, if the team is new to the method, is set out under computer stereo vision. The fix order that saves money is the one used above: flat target, then swap test, then calibration re-run, and only then a pair-selection purchase.
When Matching Is Not Enough: The Lens Type Question
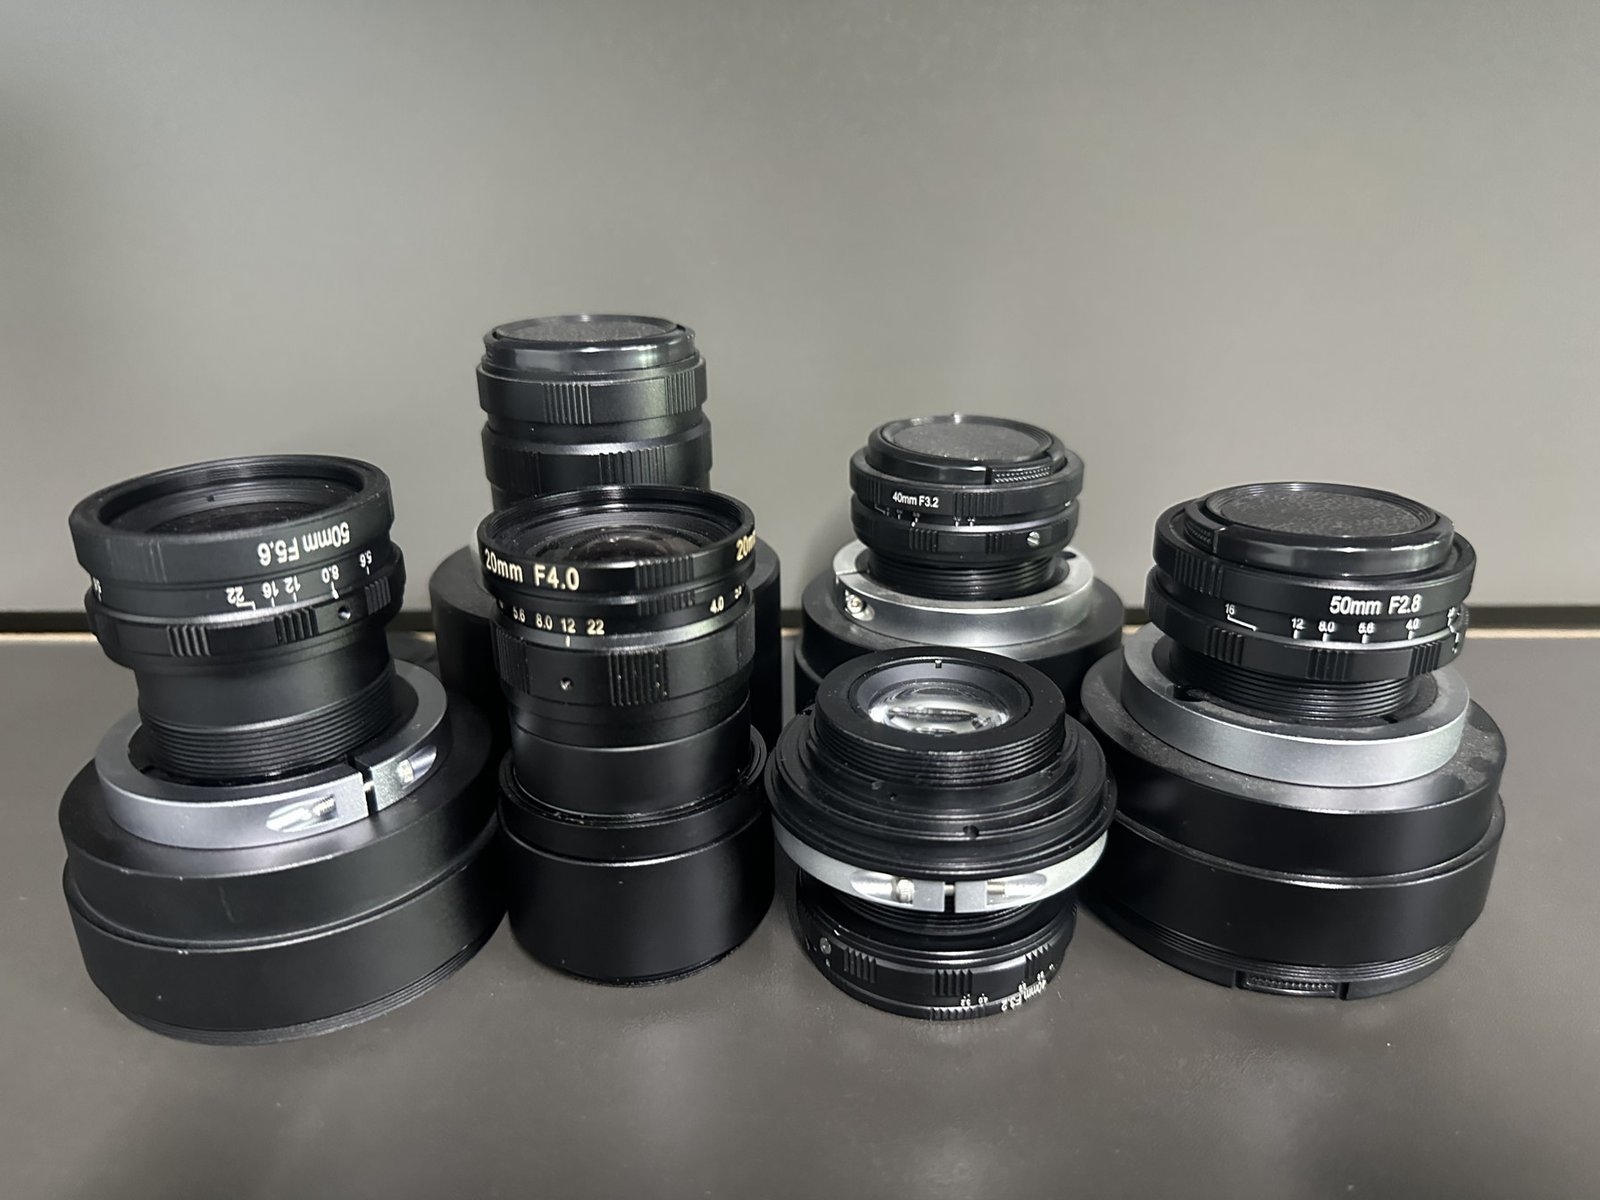
A matched pair reduces the error between two views, and it does not remove the magnification change that every entocentric lens has with distance. If the measurement relies on the scale being the same at the near and far ends of the working range, then even a perfectly matched pair of standard lenses carries the wrong property, and no amount of pair selection fixes it. That requirement changes the lens type rather than the pair: object-side, image-side or bi-telecentric lenses are the optics built for measurements that must not change with depth, and thick parts need constant magnification through their thickness. The honest order of questions is therefore the requirement first, the lens type second, and the pair selection third, and the families are laid out under telecentric lenses for comparison against a standard build. A stereo rig that only needs to detect presence and position can be happy with matched entocentric pairs for years; a rig that has to measure a dimension to a tolerance is a different project, and identifying that in the specification phase saves the purchase of a pair that was never going to pass the gauge study.
The Pair-Level Report
A matched pair is a document as much as a delivery. Two lenses with the same model number are not a pair, and the difference is visible only in measured data that belongs to both serial numbers at once. The report that lets you accept a pair holds:
- The serial numbers of both units, and the report identified by the pair, not by the model.
- Effective focal length or magnification for each lens, and the mismatch between them, stated as a figure.
- Distortion for each lens against field position, or the coefficient set, measured at the aperture and working distance you will use.
- Principal point data, since a difference there moves the map the same way scale mismatch does.
- The conditions of the measurement: sensor, working distance, aperture, wavelength and temperature.
The last line is what separates a real pair report from a folder of datasheets. If the two lenses were measured on different benches, at different distances or on different days, the numbers are not comparable, and the mismatch figure on the cover is arithmetic on incompatible inputs. Ask for both units measured on the same bench in the same session, and for the pass band that the pair was selected against. Lenses from the FA C-mount family are produced with distortion held below 0.05% and 10K+ batch consistency, and a pair-level report is still worth asking for, because consistency across a batch and a match between two specific units are two different promises.
Keep the Pair Together
Matching is destroyed by the warehouse long before it is destroyed by use. Two matched lenses separated into general stock become two random lenses the first time someone needs one, and the mismatch returns as a tilt on a station nobody rebuilt. The practical rules are cheap: mark both barrels with the pair number at goods-in, store the pair boxed as a unit, issue replacements as complete pairs rather than single lenses, and write the pair number into the machine record. For a fleet of stations, the spare list should be counted in pairs. A single spare lens can still be useful for a non-stereo camera, and it should be labelled as such so it does not drift back into a stereo build. The same discipline applies to the pair report itself: file it against the station, not in a purchase folder, because the day someone needs to know which two units were matched is the day after one of them has been dropped.
Verify at the Station, Then Keep the Evidence
The first assembly of a station is where the pair meets its real mount, and two records from that session settle most later arguments. The first is a calibration run on the actual rig, using the target and the procedure the pair report was measured against where possible. The second is the depth map of a known flat target, saved with the station number, the date and the lens pair serials. That saved map becomes the reference for every later complaint: a new tilt can be compared against the session when the station was accepted, and the difference between then and now is the evidence. For a line with several identical stations, keeping one accepted reference map per station type catches the station that drifts before the product does. Re-run the reference map after any work on the rig, after a camera or lens swap, and at a fixed interval that suits the station’s duty, and treat a change in the map’s slope as a maintenance trigger rather than a calibration nuisance.
Order Lines for the Next Stations
Five lines cover the purchase. Matched pairs selected by the maker, with the selection criterion stated. A pair-level report with both serials and the measurement conditions, on one bench. The pair boxed and labelled with a pair number at packing. Calibration data at the working distance and aperture you will use, not at a lab default. And a stated path for the replacement of one lens if it is damaged, whether that is a fresh matched pair or re-matching the survivor against a new unit. On a build of several stations, the pair data is also what makes incoming inspection possible: check the serials against the report, run the swap test on one station per shipment, and the flat-target map decides in an afternoon what a three-week dispute would otherwise decide in correspondence. Add one more line if the fleet is large enough to matter: the interval at which pairs should be re-checked on the rig, and who owns that check. A pair that was matched correctly at delivery and mounted on a bracket that has since been bumped does not need a new pair; it needs the reference map and someone whose job includes looking at it.